Prior to adding hardware in Hardware Station, all drivers for the devices, such as OPOS printers, drawers, and line display must be installed and tested on the machine running the Hardware Station service. Usually, there are tools provided for that from the device manufacturer. When you have successfully set up and tested drivers, the Hardware Station is able to detect them and load them in the Management Portal.
Click here to see a which devices are supported by the Hardware Station.
Installing the Hardware Station
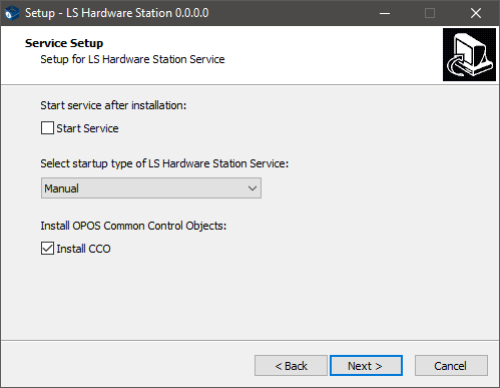
The Hardware Station is installed through the Hardware Station Installer. If an older version of Hardware Station (14.xx or older) is already installed, we recommended that you uninstall it first. An option to start the Hardware Station service after installation and a selection of start up types is presented:

The option to Install OPOS Common Control Objects refers to installing the same OPOS middleware drivers as are used in Hardware Station. We always recommend that you keep this option selected, unless you are using a custom implementation that relies on another version of the common control objects. Some OPOS drivers have this option when installing as well, and we recommend to not having it selected there, as it will overwrite the CCOs from the Hardware Station installation.
Tip: If you accidentally install the CCOs from an OPOS driver or just want to reinstall the CCOs from Hardware Station, simply run the installer again with the option selected.
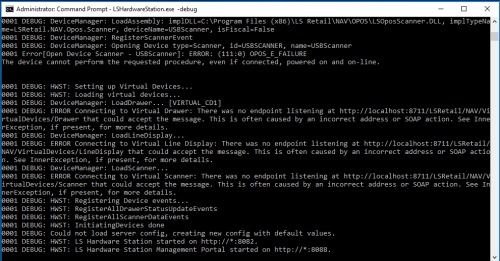
Note: You can also run Hardware Station as a console application by running C:\Program Files (x86)\LS Retail\LSHardwareStation\LSHardwareStation.exe with the parameter -debug.

Once the Hardware Station has been installed and started, the next step is to add the devices. This is done through the Management Portal.
Installing via Command Line
The Hardware Station installer can also be run via command line. The main benefit of doing so is that you have access to the command line parameters and can run the installer in silent mode, which is much better when installing in bulk. There are three different parameters provided by the installer: startservice, startuptype, and installcco. This is how they work:
-
startservice: If used with the string true or TRUE will start the service after install, any other string or the absence of the parameter will result in the preference last used when running the installer. If it is the first time running the installer, it will default to not running the service after installing.
-
startuptype: Decides which startup type of the service is used. 0 is for Manual, 1 is for Automatic and 2 is for Automatic (Delayed Start). Any other number or the absence of the parameter will result in the preference last used when running the installer. If it is the first time running the installer, it will default to Manual.
-
installcco: Decides whether or not to install the OPOS Common Control Objects mentioned above. Since this defaults to true any string that is used with the parameter other than true will result in the CCOs not being installed.
An example of the installer being run via command line:
"LS Hardware Station 0.0.0.0.exe" /verysilent /installcco=false /startservice=false /startuptype=2
By using /verysilent the installer window will not appear at all when we run the installer. By using /installcco=false you opt to not install the common control objects. With /startservice=false you will not start the service when you are finished installing. Finally, by using /startuptype=2, you choose to have set the service's startup type as Automatic (Delayed Start).
See also
How to: Add a Device to Management Portal
How to: Add Devices to a Hardware Profile
Hardware Station Troubleshooting